Your first transaction on Tezos
To wrap up your Freshman course, you'll complete a few practical tasks to help you get familiar with the Tezos blockchain and tools. In this section, you'll learn how to
- Get your first wallet
- Get your first tez
- Send tez from your account to another wallet
- View your transactions on the block explorer
Getting your First Wallet
Ready? Let's get our first wallet!
There are a number of wallets that support Tezos and the XTZ token. There's Kukai, Temple and Metamask. In this lesson, we'll be setting up the Temple wallet.
Follow these steps to set up a Temple wallet:
-
Go to the Temple website
-
Click Web extension
-
Follow the instructions to install the extension for your preferred browser.
-
Once added, on the Welcome to Temple Screen, click Create a new Wallet.
-
Click the PROTECTED section under seed phrase to reveal your seed phrase. Make sure to store your seed phrase in somewhere secure. Your seed phrase is your key to recovering your wallet if you ever loose access to it.
-
Check the I made seed phrase backup box and click Next. You'll be asked to enter some of the words from your key phrase.
-
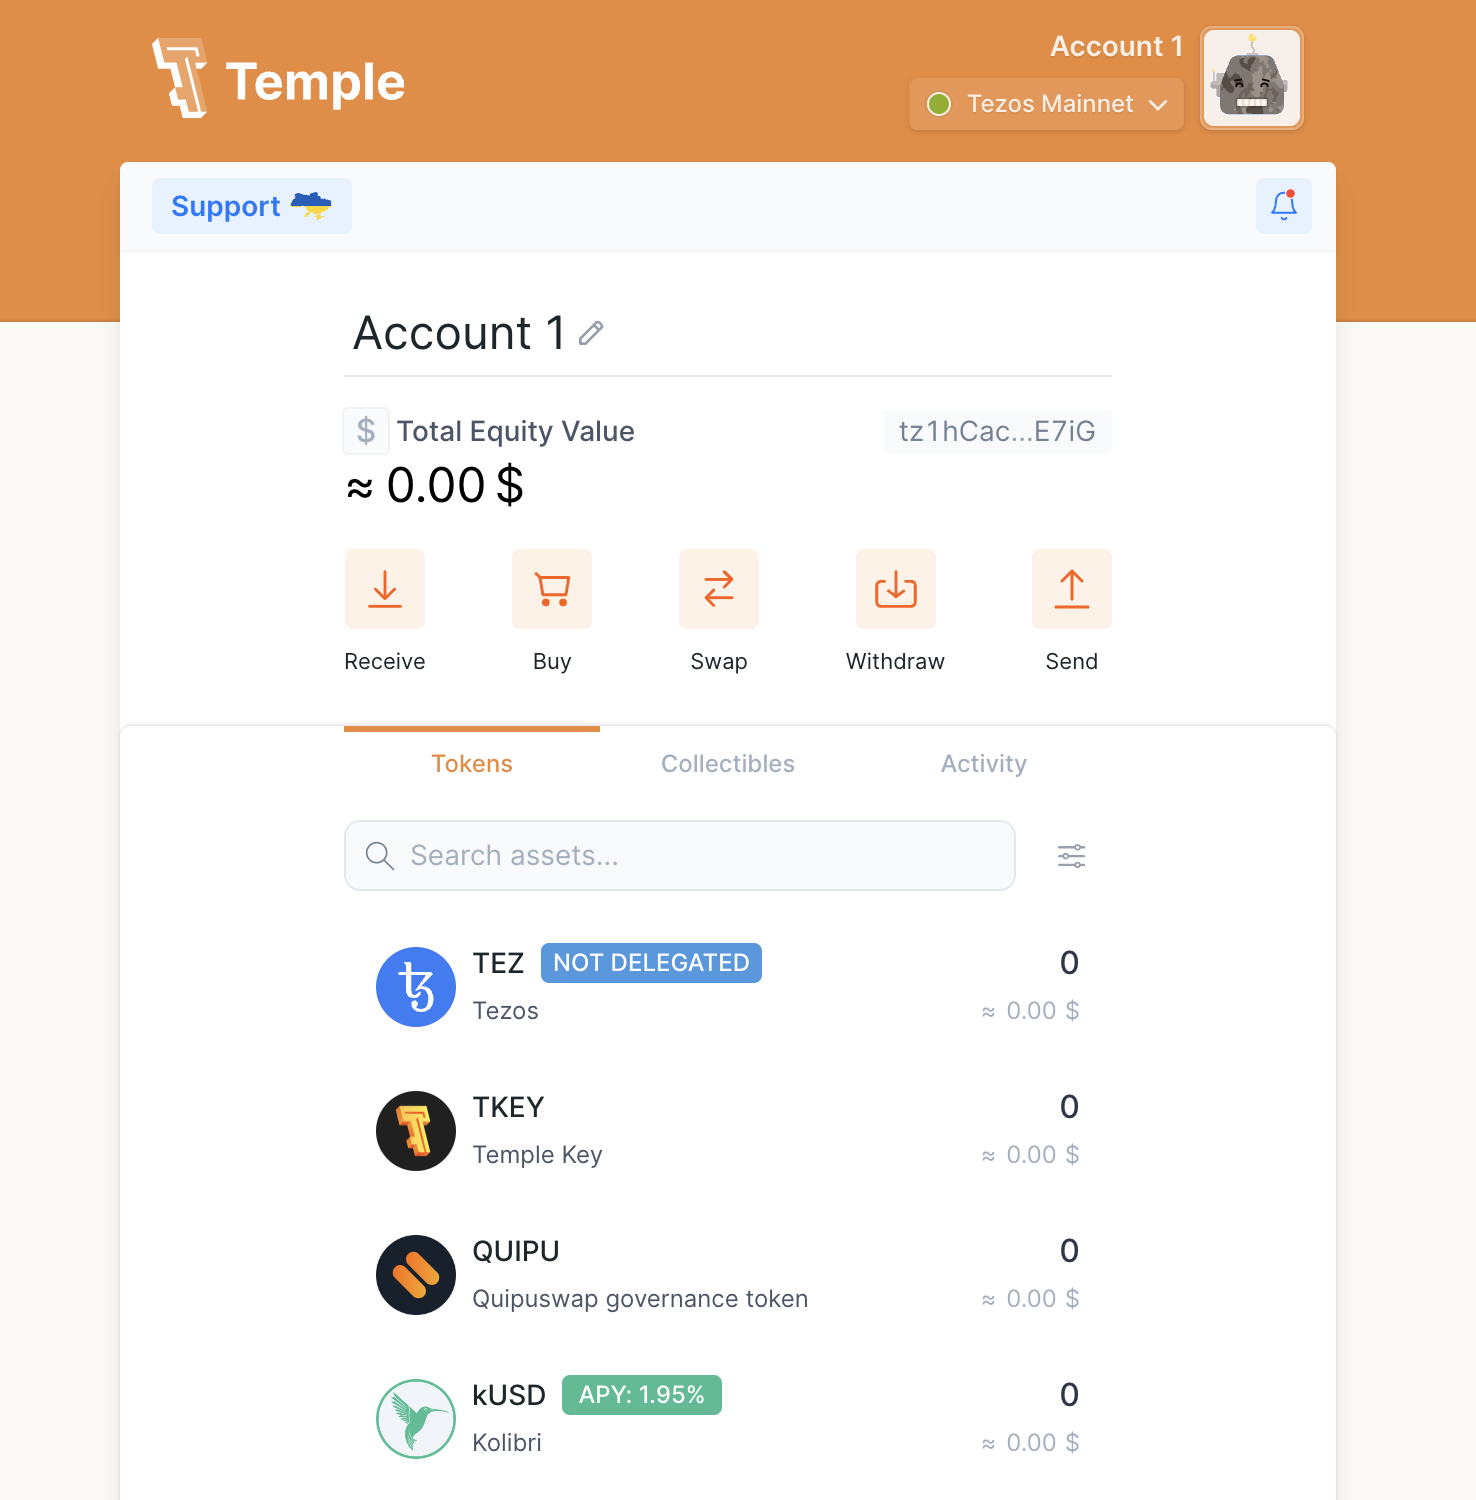
Create a password, accept the terms and hit the Create button. You should end up on a screen like below.

Temple wallet also has a Mobile app. You may choose to install that instead.
Getting your First tez
In this section, you'll get your first taste of the tez token. When developing applications in Web3, you'll find yourself using test tokens often. Testnets have faucets that provide test tokens.
To get your first test tez, follow the steps below;
- First, switch your wallet to a test wallet on Temple. In your top right, click the Tezos Mainnet dropdown and select Ghostnet Testnet
- Go to the Faucet
- Scroll down to Fund any address. Copy and past your wallet address from Temple. It should start with
tz1. Remember to switch your network on temple to the Testnet. - Enter the amount of tez you'll like to request. The more tez you want, the longer the transaction will take to complete.
- Head back to your Temple wallet, and you should see your tez tokens.
Sending your First tez
In this section, you'll send some of your tez to me. Yes! to me! Fear not :(, they are test tez.
- Click the send button on your temple wallet.
- Select the account that you recently received tez to.
- Enter my wallet address
tz1hGDfenyU6Ex6hVgUBhQzDAW7x2Ph3Rumj - You should see a breakdown of the sending fees. Select minimal - transactions on Tezos are really fast anyway. Hit send.
- On the next screen, click Confirm to approve the transaction. A transaction hash will be displayed. Copy the transaction hash.
Viewing transactions on the Tezos blockchain
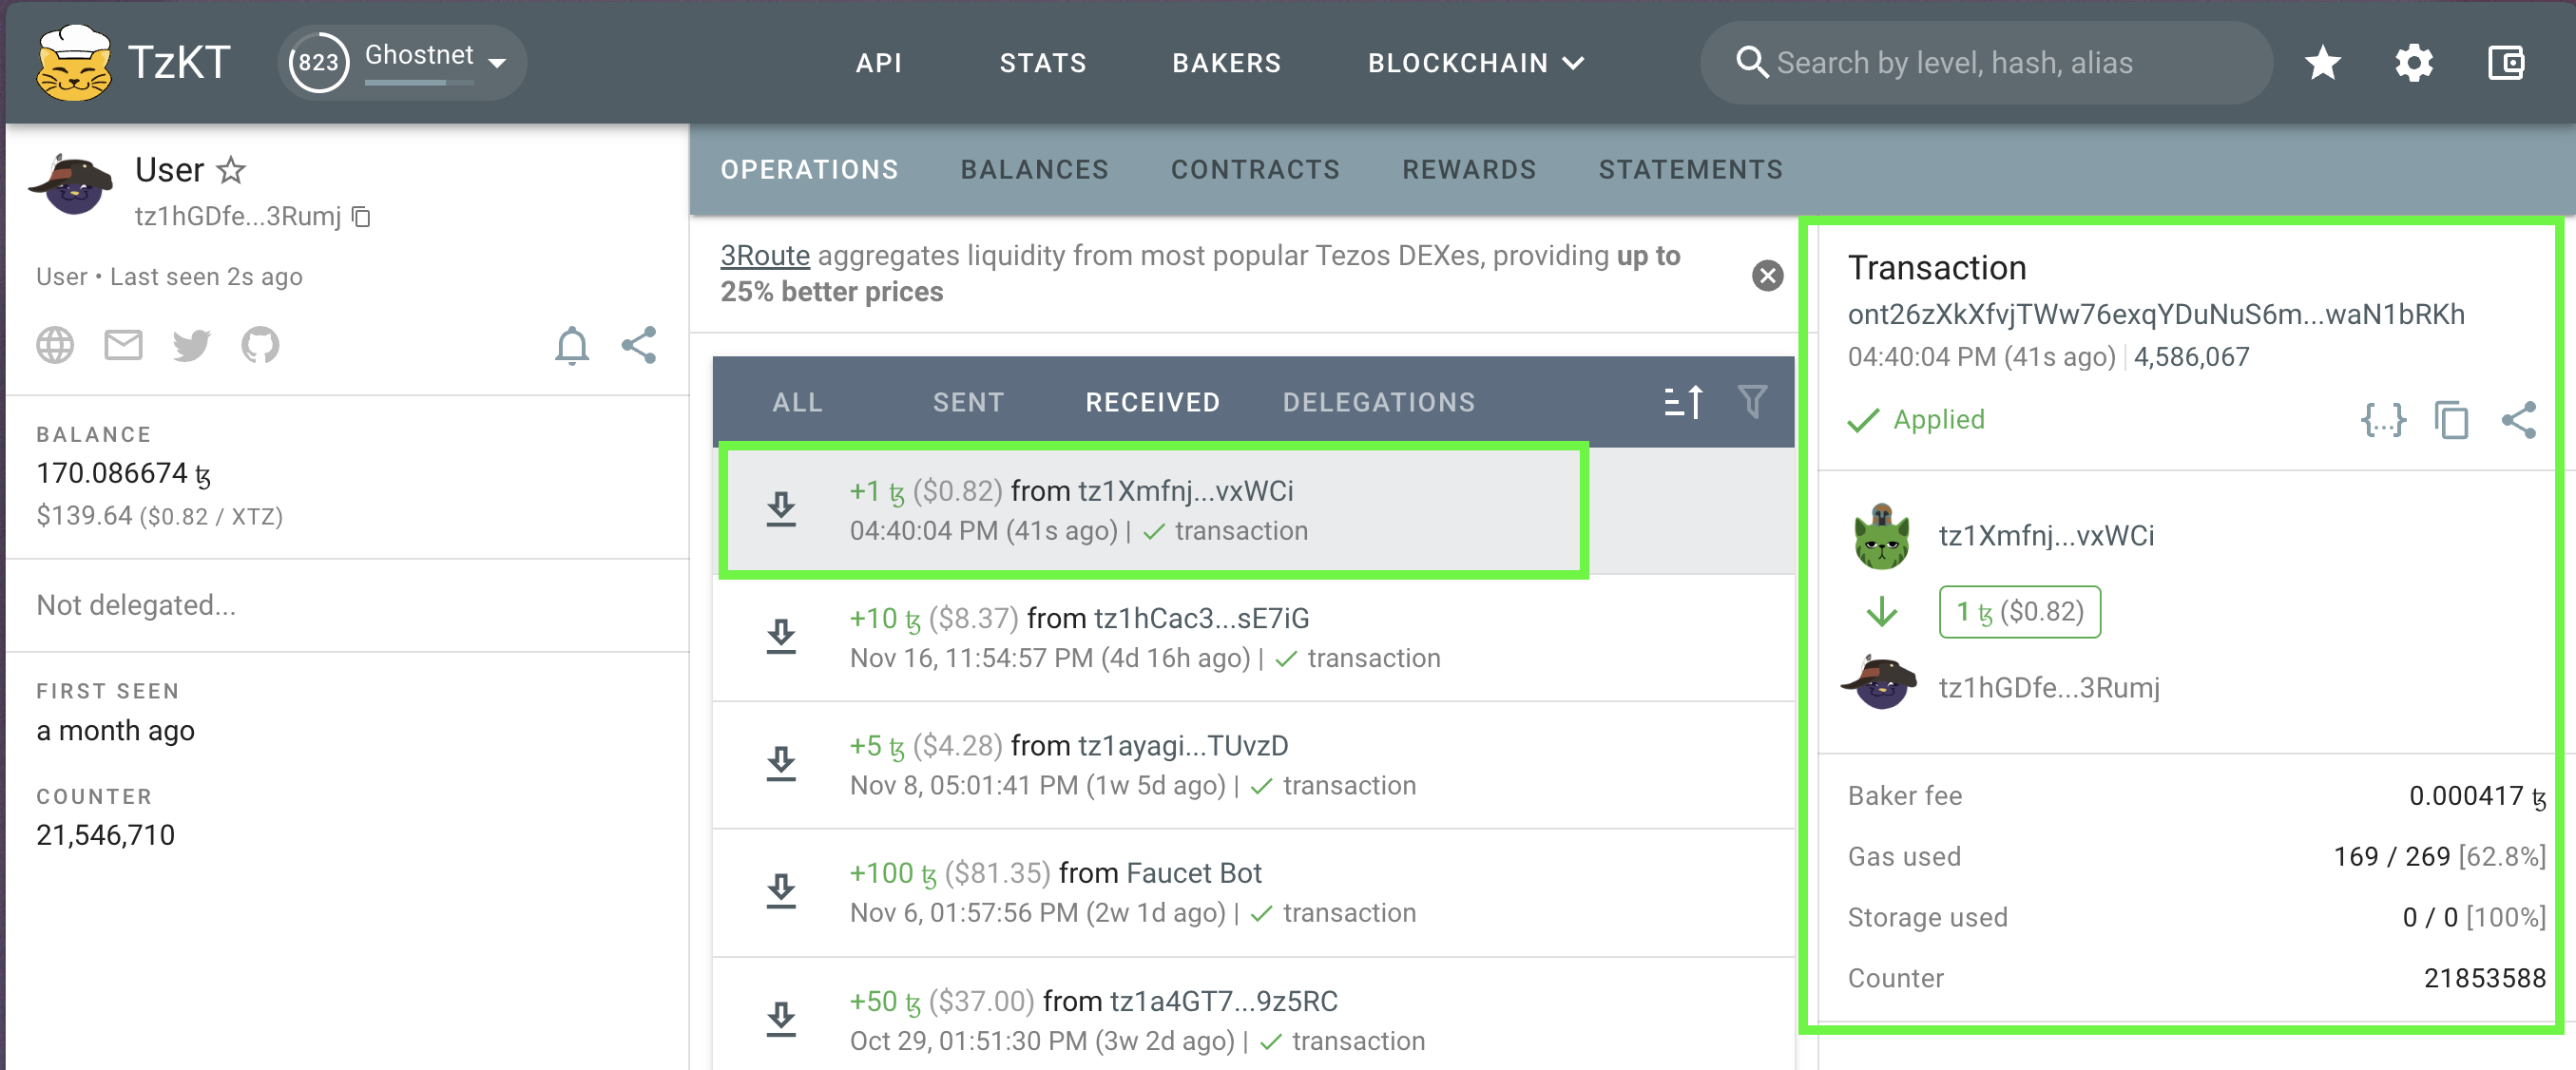
Let's check if our transaction was recorded. To view transactions on the blockchain, we use a block explorer. For the Tezos blockchain, one of our favorite block explorers is TZKT.
- Head over to the TZKT website
- Change the network at the top of the page to Ghostnet.
- Enter the transaction hash you copied from the previous section.
- Hit enter and you should see details of the transaction like how much was sent, what the gas fees were, the sender's wallet address and the receiver's wallet address.
